Curtain Rods: A Complete Guide to Installation and Use
Introduction
Curtain rods might seem like a straightforward addition to your home, but their importance goes beyond just holding up your curtains. These unassuming pieces of hardware can greatly impact the overall look and functionality of your living spaces. In this detailed guide, we will explore the world of curtain rods, from choosing the right type to installing them perfectly, so you can elevate your home décor game with confidence.

Part 1: Types of Curtain Rods
Before you dive into the installation process, it’s essential to understand the different types of curtain rods available:
- Standard Curtain Rods: These are the most common type and come in various materials like metal and wood. They feature brackets on either side to hold up the rod.
- Tension Curtain Rods: These rods require no drilling or brackets. They’re perfect for lightweight curtains and temporary solutions.
- Traverse Curtain Rods: Ideal for heavy curtains, these rods have a cord mechanism that allows curtains to open and close smoothly.

Part 2: Choosing the Right Curtain Rod
Selecting the perfect curtain rod involves considering factors beyond aesthetics:
- Material: Decide whether you want the warmth of wood, the modern touch of metal, or the transparency of acrylic. Each material brings a different feel to your space.
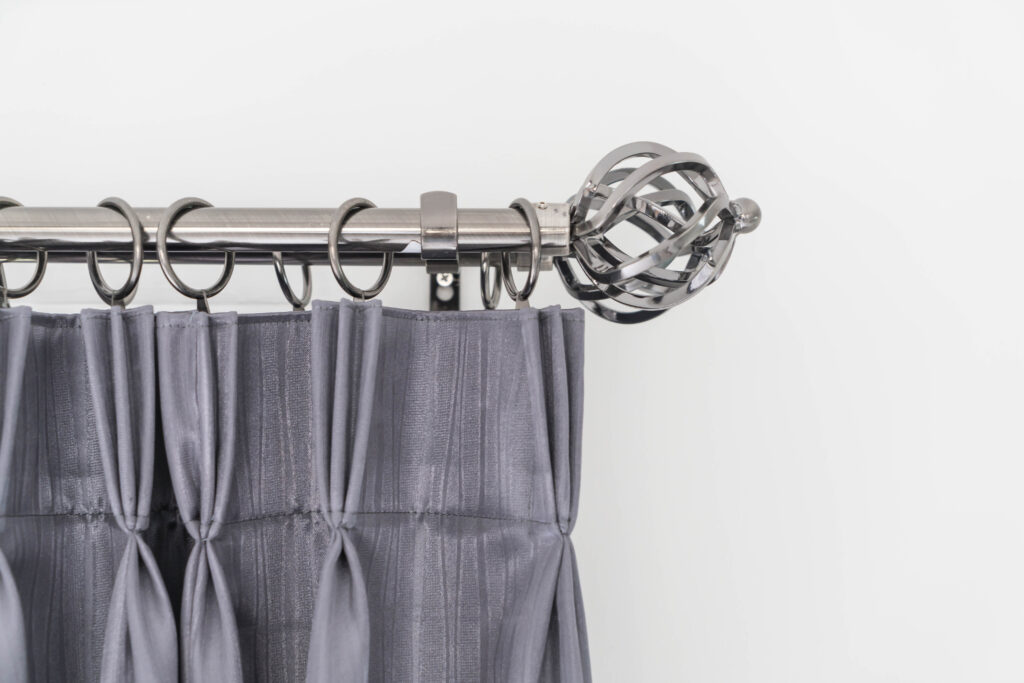
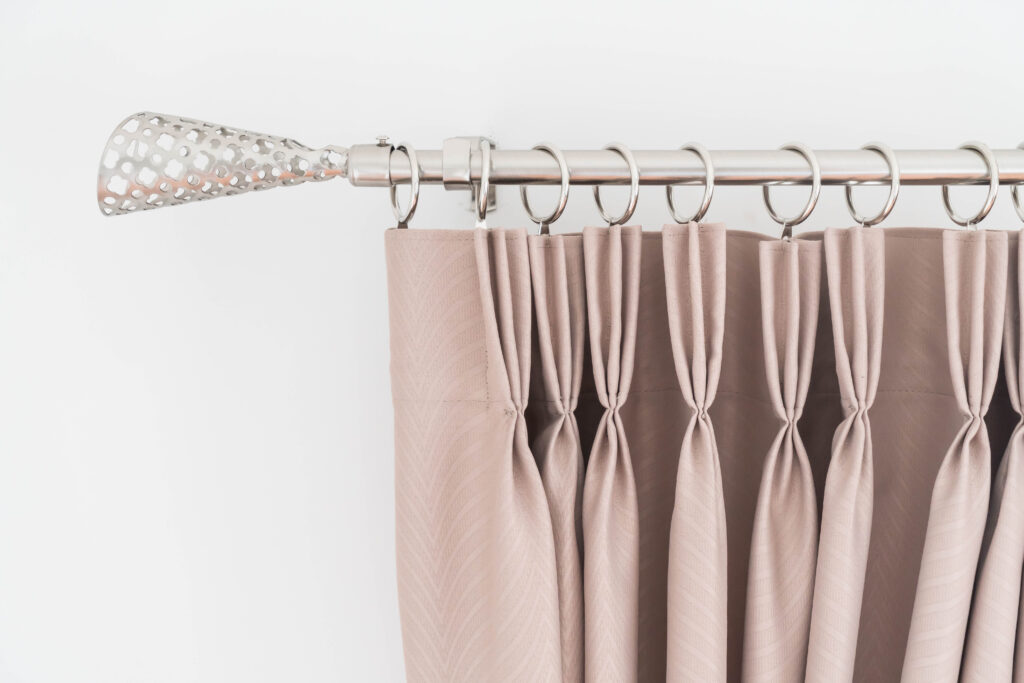
- Finials: These decorative end pieces can add personality to your curtains and rods. Choose from ornate to minimalist designs to match your style.
- Length and Width: Your rod should be wider than the window to allow the curtains to stack fully and let in light. Measure the width accurately.
Part 3: Tools and Materials for Installation

Before you start installing, gather the following tools:
- Curtain Rod Kit: This includes the rod, brackets, screws, and finials.
- Level: A level ensures your rod is perfectly straight.
- Measuring Tape: To accurately measure the width and height for placement.
- Screwdriver or Drill: Depending on the type of rod, you might need a screwdriver or a drill for installation.
Part 4: Step-by-Step Installation Guide
- Measure and Mark: Use a measuring tape to mark the desired height above the window frame. For width, the rod should extend around 6-12 inches beyond the window.
- Bracket Installation: Attach the brackets to the wall using screws and a level to ensure they’re straight and even.
- Rod Placement: Slide the curtain rod through the rod pocket of your curtains, then place the rod onto the brackets.
- Finial Attachment: If your rod has finials, attach them to the ends of the rod. Some finials may simply twist on, while others might need screws.
- Secure Brackets: Double-check the rod’s levelness and make any necessary adjustments. Once satisfied, secure the brackets in place using screws.
Part 5: Curtain Rod Maintenance
To ensure your curtain rods remain in top-notch condition:
- Regular Cleaning: Dust and dirt can accumulate on the rods and brackets. Wipe them down regularly with a damp cloth.
- Check for Stability: Periodically ensure that the brackets are still securely fastened to the wall.
Conclusion: Curtain rods are not just functional components; they are design elements that contribute to your home’s aesthetics and functionality. By understanding the types, choosing wisely, and following proper installation steps, you can enjoy both the visual appeal and practical benefits of a well-installed curtain rod. Whether you’re enhancing your living room, bedroom, or any other space, a curtain rod can be the finishing touch that ties your décor together with delicacy.

1 thought on “Curtain Rods: A Complete Guide to Installation and Use”